
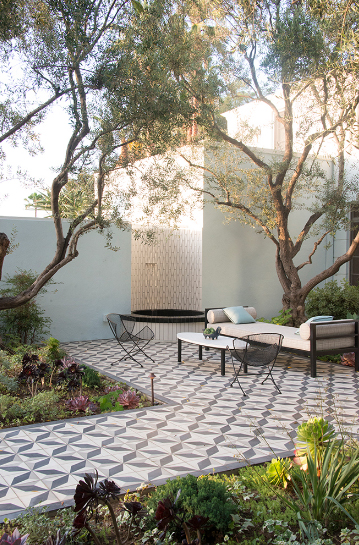
Echo Collection


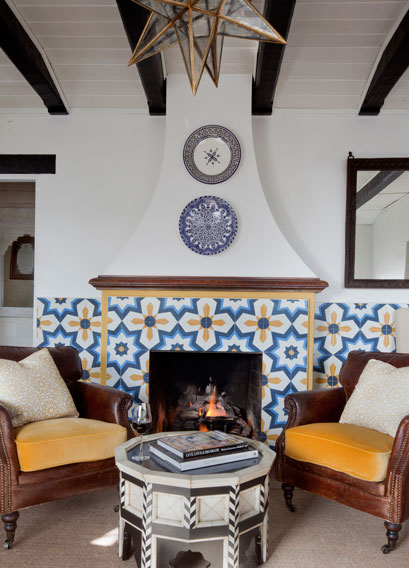


Andalucia Collection
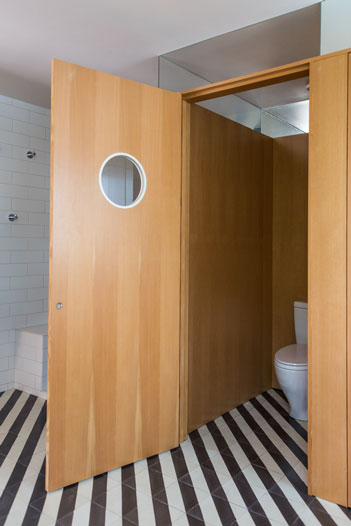
Minis Collection
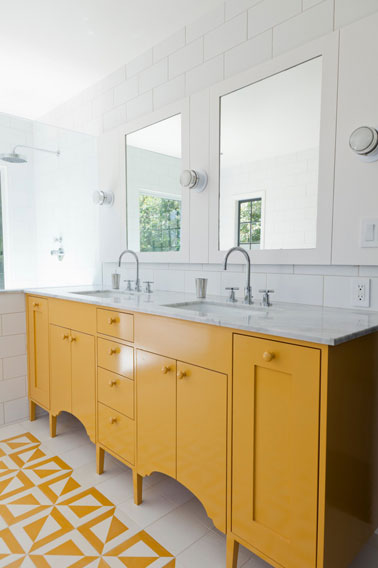
Olvera Collection


Relief Collection
213.788.4238
Sales@GranadaTile.com