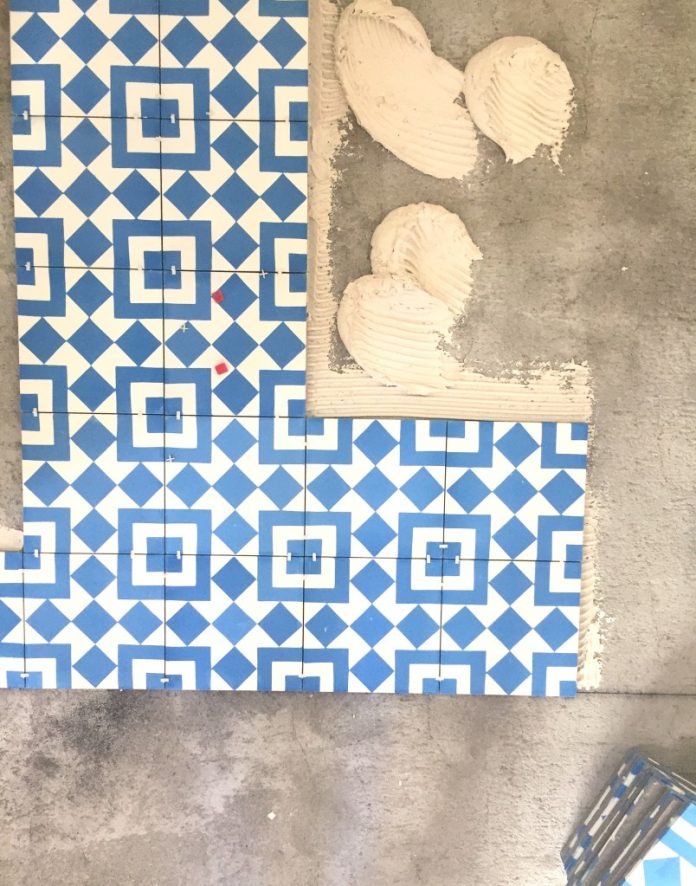
Cement tiles are handmade artisan products renowned for their amazing array of design possibilities and unmatched durability when compared to other tiles. Like all concrete and natural stone, cement tiles are porous. When installing cement tiles, whether on a floor or wall, they must be sealed before and after grouting to prevent the grout staining the tile.
Sealing Grout for Cement Tiles Vs. Ceramic Tiles
While cement and ceramic tiles can look very similar, they are very different products and need to be treated and maintained differently. Ceramic tiles are either glazed or unglazed, although they typically come glazed and do not require the same sealing measures and attention to detail as cement tiles do during installation. For example, ceramic tiles do not need to be sealed before grouting, but the grout joints, once dried, should be sealed to prevent them from staining and wearing faster. The grout used for most tile installations is cement grout which is porous and can absorb stains.
Cement tiles require more steps to protect them from staining and damage during the installation process. Before grouting, cement tiles must be sealed with a pre-sealer or grout release to prevent the grout from absorbing into the tile and to make clean up of the grout easier. This pre-sealer helps to keep cement tiles clean and stain-free. Once the grout release or pre-sealer is dry, grouting can take place. During the grouting process, cement tiles must be kept clean, with any excess grout wiped off to prevent it from absorbing into the tile. Ceramic tiles, on the other hand, are not as absorbent and do not need to be cleaned as often as cement tiles when removing excess grout.
Step 1: Ensure a Clean, Dry Surface
The penetrating/impregnating sealer is typically applied to cement tiles after they’ve been laid and cured onto the thin set mortar foundation. You’ll want to ensure that all mortar has been completely cleaned from the surface of the tile using a damp sponge and dried to provide a clean surface for the sealer.
Step 2: Apply the Grout Release or Penetrating Sealer
When it comes to pre-sealing cement tiles before grouting, you can either use a basic penetrating or impregnating sealer, or a specific grout release product. One of the best products we’ve found to date is STAIN-PROOF by Dry Treat. This will help prevent the grout from staining the tile and to make the clean up of the excess grout easier. No matter which type of pre-sealer you use, apply the sealer over the top of the tiles using a clean sponge or cloth. Apply a thin layer, covering each tile surface completely.
Step 3: Let the Pre-Sealer Dry
Allow the tiles to dry according to the sealant manufacturer’s instructions.
Step 4: Grout the Tiles
Once the pre-sealer is dry, you can apply the grout using an unsanded grout product. The spaces between cement tiles are narrow (1/16”), as recommended by most manufacturers, so an unsanded grout is best for properly filling the grout joints and ensuring there are no gaps or pockets. Even though you’ve applied a grout release penetrating sealer prior to grouting, you still need to be very careful when grouting cement tiles to wipe them clean as you work to ensure excess grout does not sit on the surface for long and dries.
One of the best ways of insuring that the tiles will not be stained by the grout is to use a light colored grout. Unfortunately, the black pigment used in the dark grouts is very strong and quite adept at moving into the tile.
Step 5: Remove the Grout Haze
Grout haze is the powdery film that can appear on the surface of tiles after grouting. Remove this haze within a week of grouting to ensure it does not leave a lasting stain on the tiles. Ideally, you will clean this using a damp sponge to avoid removing some of the grout and grout release pre-sealer.
Step 6: Apply the Final Sealant
Once the grout is completely dry according to manufacturer’s instructions, typically after 48 hours, apply the penetrating sealer over the dry, clean tiles to further add waterproofing and protection from moisture, staining and quicker wear. Before applying the sealer, make sure that the tiles are free of any grease, oil, dirt or wax. One of the best products we have found to date is STAIN-PROOF by DryTreat.
Sealing cement tiles prior to grouting and again after the installation is key to protecting the tiles from damage and preventing stains from settling into the tile surface. The result will be a highly protected tile that is impervious to moisture and staining and will last and look great for a long time. Sealants should be reapplied every two to three years to keep the tile in tip top shape. (Note that STAIN-PROOF is a permanent sealer and should not need to be reapplied.)
If you have any questions regarding sealing cement tiles, or would like help picking out or designing your own cement tiles, get in touch with our sales team today at Granada Tile. We can’t wait to hear about your project!


